Discovering Plumbing Basics is Crucial When Installing a Bathtub
Discovering Plumbing Basics is Crucial When Installing a Bathtub
Blog Article
Listed here below you can discover a good deal of reliable information and facts involving A Step-by-Step Guide to Installing a Bathtub.
Installing a bath tub isn't exactly rocket science, but it does need solid plumbing, woodworking, as well as occasionally, tiling skills. Changing an old bath tub with a new one is additionally a reasonably hard task. If the old bathtub is readily accessible, the project can move rapidly; if you need to open a wall surface to remove the old tub as well as place the new tub, the task is much harder. In either instance, the project is within a house handyman's abilities, although you will require an assistant to leave the old tub and embeded in the new one. Make certain you have certified yourself for the work as well as fit attempting it. Rather than hiring a specialist to take control of a halfway-completed project, it is far better to take into consideration utilizing one before you begin. Possibilities are you might require a professional plumber to make tube links.
This article will assist you set up a brand-new tub in your restroom if you have already bought a new bathtub and also do not require to transform the setup of your previous water pipes.
Your devices and also material list should make up the following:
Planning for the Setup
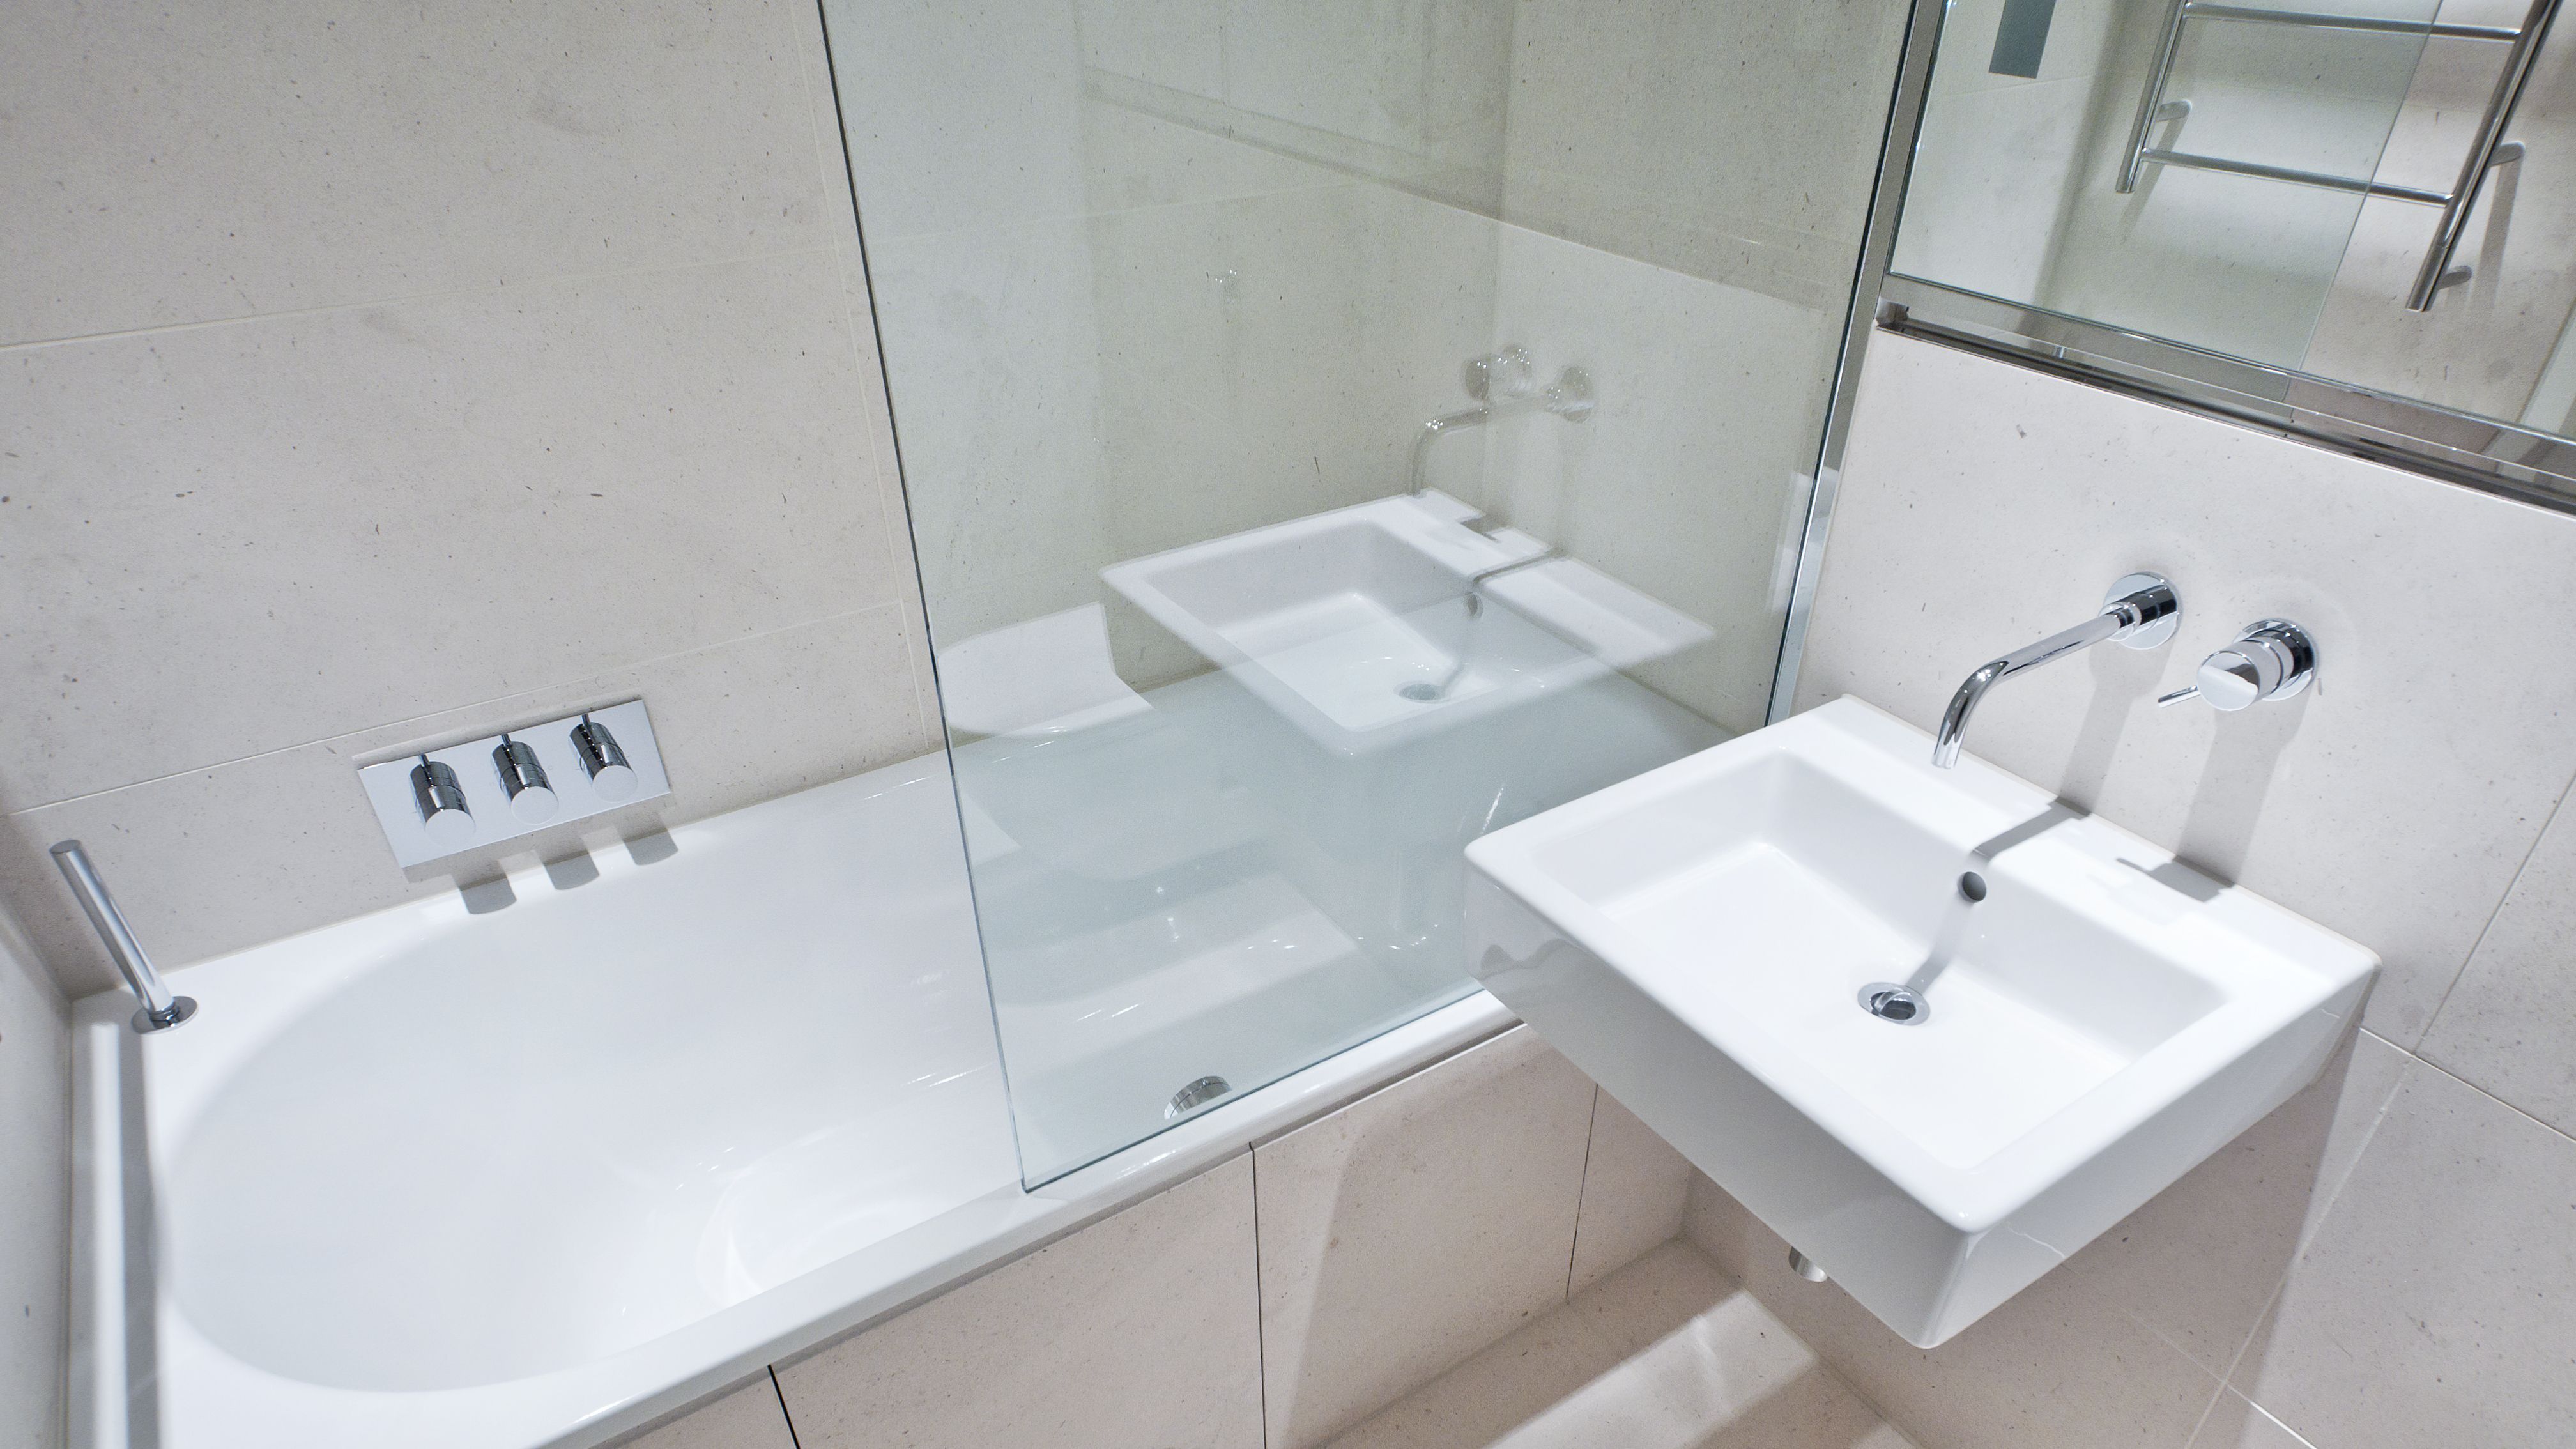
First of all, the sustaining structure supplied with the bathroom ought to be fitted (if required) according to the manufacturer's directions. Next off, fit the taps or mixer to the bath tub. When fitting the tap block, it is important to make certain that if the faucet includes a plastic washing machine, it is fitted between the bathroom and also the taps. On a plastic bath, it is additionally reasonable to fit a supporting plate under the taps system to avoid stress on the bathtub.
Fit the flexible tap ports to the bottom of both faucets utilizing 2 nuts as well as olives (in some cases provided with the tub). Fit the plug-hole electrical outlet by smearing mastic filler round the sink electrical outlet hole, and afterwards pass the electrical outlet through the hole in the bathroom. Utilize the nut provided by the supplier to fit the plug-hole. Take a look at the plug-hole outlet for an inlet on the side for the overflow pipe.
Next off, fit the end of the adaptable overflow pipeline to the overflow electrical outlet. After that, screw the pipe to the overflow face which ought to be fitted inside the bath. Ensure you make use of all of the provided washers.
Link the catch to the bottom of the waste outlet on the tub by winding the thread of the waste outlet with silicone mastic or PTFE tape, as well as screw on the trap to the electrical outlet. Link all-time low of the overflow tube in a comparable manner.The bathroom should now prepare to be suited its last setting.
Removing Old Taps
If you need to change old faucets with new ones as a part of your installation, after that the first thing you must do is separate the water system. After doing so, switch on the taps to drain pipes any type of water staying in the system. The procedure of removing the existing faucets can be quite bothersome because of the limited access that is frequently the instance.
Utilize a container wrench (crowsfoot spanner) or a faucet device to reverse the nut that connects the supply pipes to the faucets. Have a cloth ready for the staying water that will come from the pipelines. Once the supply pipes have been removed, use the very same tool to loosen the nut that holds the faucets onto the bath/basin. You will certainly require to stop the solitary faucets from transforming throughout this procedure. Once the taps have been eliminated, the holes in the bath/basin will certainly need to be cleansed of any kind of old securing compound.
Before proceeding to fit the new taps, compare the pipeline links on the old faucets to the brand-new taps. If the old taps are longer than the brand-new faucets, after that a shank adapter is required for the brand-new taps to fit.
Setting up the Tub
Utilizing the two wooden boards under its feet, place the bath tub in the needed placement. The wood boards are practical in uniformly spreading the weight of the bath tub over the location of the boards instead of concentrating all the weight onto 4 little factors.
The next goal is to guarantee that the bathtub is leveled all round. This can be accomplished by examining the spirit level as well as readjusting the feet on the bathtub up until the level reviews level.
To install taps, fit all-time low of the outermost adaptable faucet connector to the suitable supply pipe by making a compression join; then do the exact same for the other tap.
Turn on the supply of water as well as check all joints as well as new pipework for leakages and also tighten them if required. Load the bath tub and likewise inspect the overflow outlet and the regular outlet for leaks.
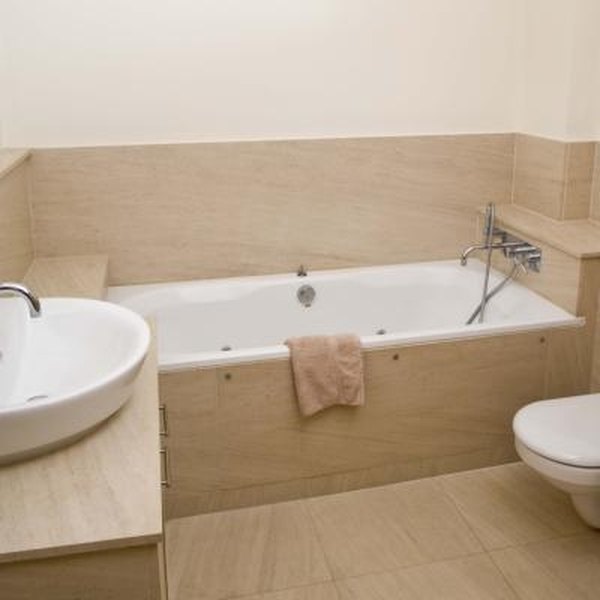
Lastly, take care of the bath paneling as defined in the maker's instruction manual. Tiling and also sealing around the bathtub must wait until the bath tub has been made use of at least when as this will settle it into its last placement.
Fitting New Taps
If the tails of the new faucets are plastic, after that you will certainly require a plastic connector to avoid damage to the thread. One end of the port fits on the plastic tail of the faucet and also the various other end supplies a link to the current supply pipelines.
If you require to fit a monobloc, after that you will certainly require decreasing couplers, which connects the 10mm pipeline of the monobloc to the standard 15mm supply pipe.
Next off, place the faucet in the placing hole in the bath/basin ensuring that the washers are in location in between the faucet and also the sink. Protect the tap in position with the manufacturer offered backnut. Once the faucet is firmly in place, the supply pipelines can be connected to the tails of the faucets. The taps can either be linked by using corrugated copper piping or with typical faucet connectors. The previous kind ought to be attached to the faucet finishes first, tightening up only by hand. The supply pipelines can later on be connected to the various other end. Tighten up both ends with a spanner after both ends have actually been attached.
Tiling Around the Bathtub
In the area where the bath satisfies the ceramic tile, it is essential to seal the joins with a silicone rubber caulking. This is important as the fitting can relocate enough to split a rigid seal, causing the water to pass through the wall surface between the bathroom as well as the tiling, bring about problems with dampness and also possible leaks to the ceiling listed below.
You can select from a range of coloured sealers to assimilate your fixtures as well as installations. They are offered in tubes and also cartridges, and also are capable of sealing spaces approximately a width of 3mm (1/8 inch). If you have a larger gap to fill up, you can load it with spins of soaked paper or soft rope. Bear in mind to constantly fill the bathtub with water before sealing, to allow for the movement experienced when the bathtub is in usage. The sealant can split rather early if you do not take into consideration this movement before sealing.
Conversely, ceramic coving or quadrant floor tiles can be utilized to edge the bathroom or shower tray. Plastic strips of coving, which are easy to use and cut to dimension, are also conveniently available on the market. It is advisable to fit the ceramic tiles making use of water-resistant or water resistant adhesive as well as cement.
A Step-by-Step Guide to Installing a Bathtub
Is your bathtub looking a bit dated lately? Believe it or not, installing a new one is a project you can do yourself. Whether your bathtub is broken or doesn’t fit in with your current bathroom’s design, you can fix it without having to hire a contractor or paying labour costs.
But, beyond saving money, there are other benefits of installing your own bathtub. When you do this project yourself, you can customise every step of the process. You can also make sure the finished product looks exactly the way you want it to.
This DIY project is quite involved, but by doing some research, preparing your bathroom and using the right equipment, it is definitely one you can take on. This guide will help you understand the technical procedures behind installing a new bathtub.
Remove the Existing Bathtub
To remove the old bathtub, you will need to turn the water supply off before you start any work. After you turn the water off, there will likely still be some water left in your plumbing system, which you can remove by turning on a faucet below the level of the bathtub. Once the water stops running, you are ready to start working.
The easiest way to remove the tub is to remove the faucet, handles and other piping and then pull the tub out from the wall. If this doesn’t work in your situation, you will need to remove part of the wall, remove the piping and then slide the tub out.
Choose the Right Bathtub
The ideal way to replace your bathtub is to find one that has the exact dimensions and has the drain and faucet on the same side as your old one. This way, it will fit in the same place and you won’t have to change the piping system in your bathroom. Choose a tub that matches your home’s decor and fits with the style of the bathroom.
Install the Plumbing and Ledger Board
You can purchase a tub drain kit at a hardware store which will have all the pieces you will need for your new tub’s plumbing. Follow the instructions that came with the kit to install the plumbing in the new tub and then take measurements to make sure the plumbing in the tub will align with the plumbing in your bathroom. If it doesn’t, now is the time to make necessary adjustments.
Some bathtubs need a ledger board that is installed on the wall behind the tub to help support it. If your new bathtub requires one, the directions that came with it will tell you how high it should be installed. If your old bathtub had a ledger board, and it is still in good condition, you can adjust its height to match the new bathtub.
Install the Bathtub
When the plumbing and ledger board are ready, you can install the new bathtub. Carefully lower it into the space, being careful not to damage the tub, wall, plumbing or ledger board. Since bathtubs are very heavy and you will need to line the tub up exactly, it is wise to have someone help you with this step.
Once the tub is in place, it needs to be perfectly level, so use a bubble level instead of estimating how level the tub is. Put the level on the top edge of the tub, not the bottom on the inside, since many tubs are designed with a sloped bottom.
If the bathtub isn’t level, adjust the ledger board and shift the tub until it is. When it is level, use screws to attach the tub to the wall studs. Most bathtubs have pre-drilled holes in the upper flange, so use these but do not over tighten the screws.
Hook up the Plumbing
Now that the bathtub is installed, it needs to be attached to your plumbing system. First, install the shoe fitting under the tub and drain pipe, then the overflow pipe and then the drain flange. Your tub plumbing kit will include specific instructions on how to install these pieces.
Install the Bathtub Surround
A bathtub surround will protect the walls around the tub from water damage and can give your new bathtub a more finished look. To install one, make sure the wall is completely clean and dry so that the adhesive will be able to hold the surround securely. Then, measure the surround and mark the same dimensions on the wall above the tub.
Following the directions that came with the surround adhesive, apply it to the wall. Press the surround against the wall on top of the adhesive and then pull it away for about three minutes to activate the adhesive, then apply the surround again. Keep in mind that this is the most common way to use an adhesive, but you should check the instructions on the package for any special steps.
If there is any excessive adhesive around the sides of the surround, you can use mineral spirits to remove it. Then use masking tape to hold the surround panels in place until the adhesive is dry. Using silicone, seal all the cracks between the surround panels and the gap between the bottom of the panels and the top of the bathtub.
If you want to install tile above your bathtub, instead of a bathtub surround, the process will be very similar. But, you will need to measure and cut tiles and install each one individually, using tile spacers to make sure they are evenly spaced. You will then use grout to fill in the spaces between the tiles.
https://www.hss.com/blog/bathroom/a-step-by-step-guide-to-installing-a-bathtub/
We were shown that editorial about Installing A Bathtub through a friend on a different web page. Enjoyed reading our posting? Please share it. Let someone else find it. We appreciate reading our article about Tools You Need to Install a New Bathtub .
Top service, one call. Report this page